
This is the ultimate minimalist oil painting set up!
At first oil painting may seen like an expensive, exclusive art practice – but it truly is not. A student or anyone else with a small budget can absolutely start oil painting from scratch without having to break the bank. All you need is a little bit of knowledge of what the basics are, and know a good way or two to find things second-hand. The thrift shop, Facebook marketplace, and some repurposing can lend a hand in cutting costs down of starting up oil painting.
I will calculate costs at the end, but first we have to go through the basics:
- A Space to be Creative
- Something to Paint
- Oil Paint
- Oil Paint Medium
- Mixing Tools and Brushes
- Clean up Basics
- Final Calculations of Cost: Two Options
A Space to be Creative
No you do not need a whole room to get started, all you really need is a little bit of space and good lighting.

The first step I would take in a new space is to open all the blinds/curtains and see how much natural light you are working with. If you are lucky, there will be bright beautiful light flooding into your space. If your place is lacking windows, or like my new home in Denmark – lacking sunlight, it is best to supplement natural light with bright LED lamps.
I currently use two lamps which can both switch between warm and cool light, and can clip to any surface I need. I enjoy lighting options which have a clamp since I can then clip the light to my desk, a chair, or even the kitchen table when I need the extra space.
Something to Paint
Traditionally this would be canvas, however there are actually many surfaces for oil paint.
Luckily I have found that canvas is usually always on sale during the holidays, this is when I like to stock up. I have also found unused canvas for sale, or even free, on Facebook Marketplace. So check if you can avoid buying canvas at full price, or plan ahead and bring a coupon.
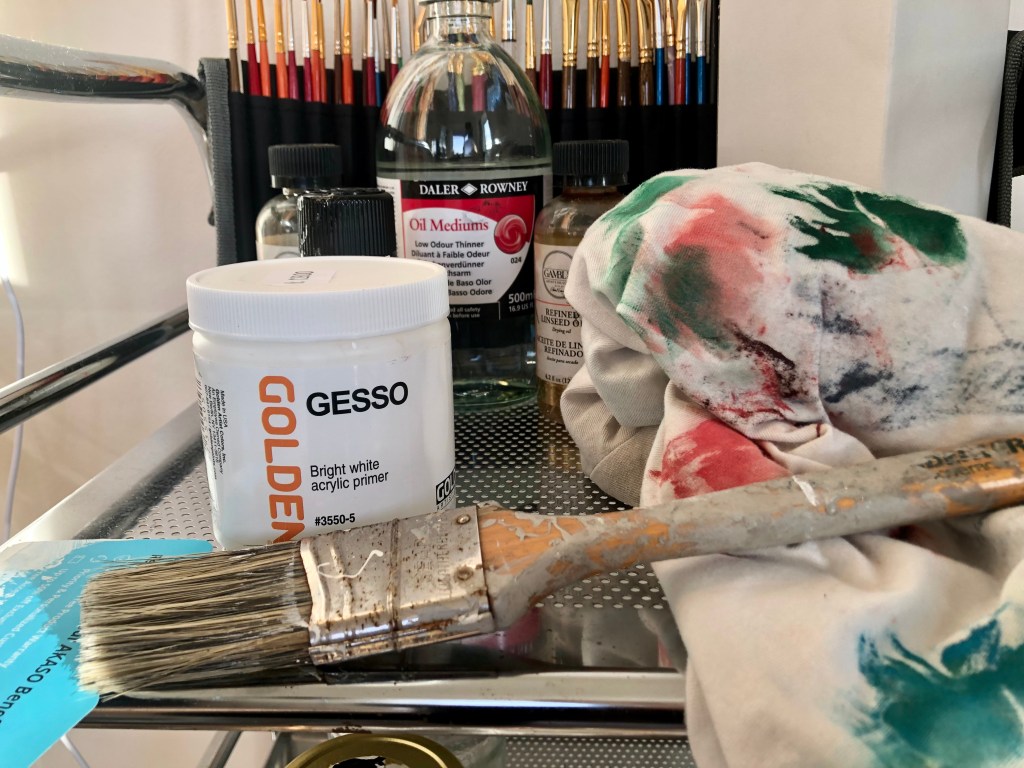
Many artists also enjoy painting on thin sheets of wood. Finding cheaper wood to buy can be difficult, but possibly you have some pieces lying around from a left over project that can become your new artist work. If you intend to use oil paint on wood you will need to first prepare with a couple layers of gesso (white acrylic paint).
My personal favorite alternative to traditional canvas is fabric – more specifically clothing! I think painting on clothes can be really fun, if you can deal with the texture and flexibility. I like to keep to more thick and stiff fabrics, like jeans and jackets. Similar with wood, you will need to prepare the area you want to paint first when using oil paints on fabric. So although old clothing might be free (or cheap at a thrift store too!), you’ll also need to have gesso on hand.
Oil Paint
Oil paint can get very expensive and adds up quickly, so it can be to your advantage to know exactly which colors you will be using in your work(s).
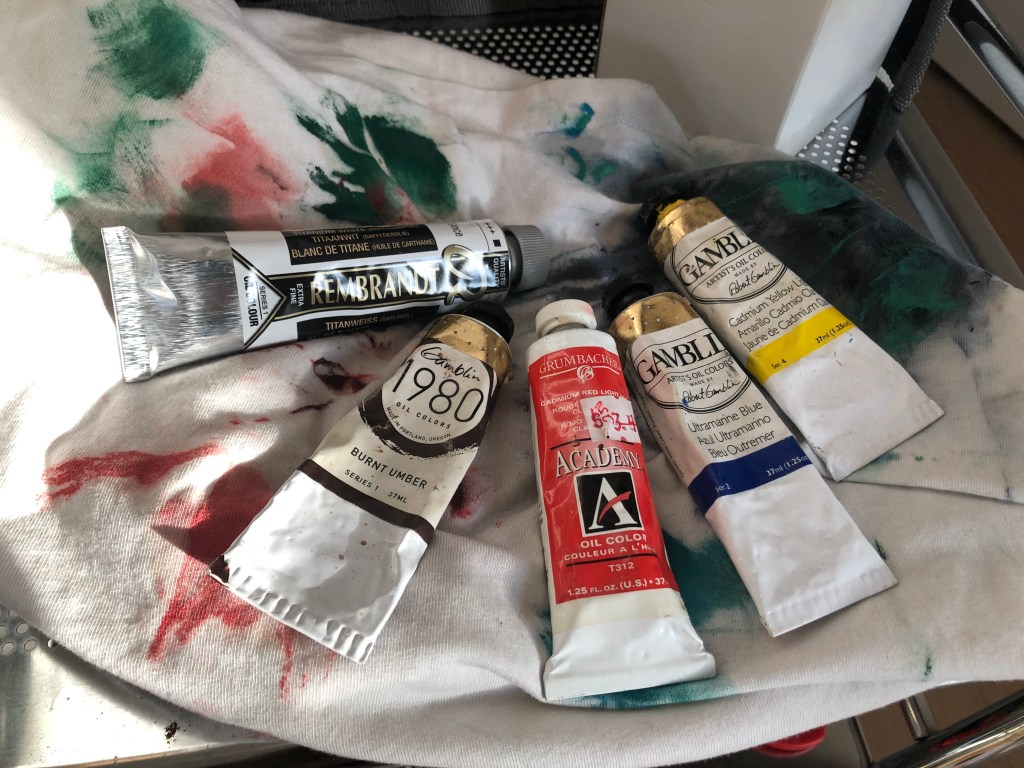
Before you get overwhelmed by all the color options and have handfuls of oil paint at the check out stand, remember that you can mix many colors from just a few! I would start off with just 5 oil paints:
- Titanium white
- Burnt umber
- Cadmium red
- Ultramarine blue
- Cadmium yellow
This sample of paints includes one light (white), one dark (burnt umber), and a set of primary colors. With these 5 paints you will be able to create every color needed for a full painting, the possibilities are nearly endless! Also if a primary set of cyan, magenta, and yellow are more your taste then go for it.
If 5 oil paints are too much for the budget, may I introduce: the limited color pallet. The idea of a limited pallet is to challenge your creativity when you limit your tools. In this case, all you need to create beautiful work is simply two oil paints. My personal favorite limited color pallet:
- Titanium white
- Payne’s grey

I’ve been able to create multiple works with just these two paint colors. Personally, I love how Payne’s grey can go from solid black to the softest powdered blue. Any color with white can create that image in your mind, you just have to figure out how to translate it to the canvas.
Oil Paint Medium
The purpose of mediums are to alter the drying time of oil paints and to introduce different effects.

Mediums can do a lot: speed up drying time, slow down drying time, create texture, increase transparency, decrease transparency, and even add volume like 3-D effects. When I first started oil painting, the idea of mediums was very overwhelming. It took time to figure out the differences between mediums, and more importantly which one I actually liked to use.
If you have no idea which medium you’d like, I would recommend refined linseed oil.
Linseed oil is the same medium that classic painters used, it’s a staple in any oil painting class. It speeds up the drying time of oil paints without introducing too many other variables. Ultimately, linseed oil will speed up the dry time, create a consistent glossy finish, and smooth the paint to be easier to work with.
Mixing Tools and Brushes
Before you go out and purchase an art pallet to mix your paint on, look around your space and see if there are any glass picture frames not in use.
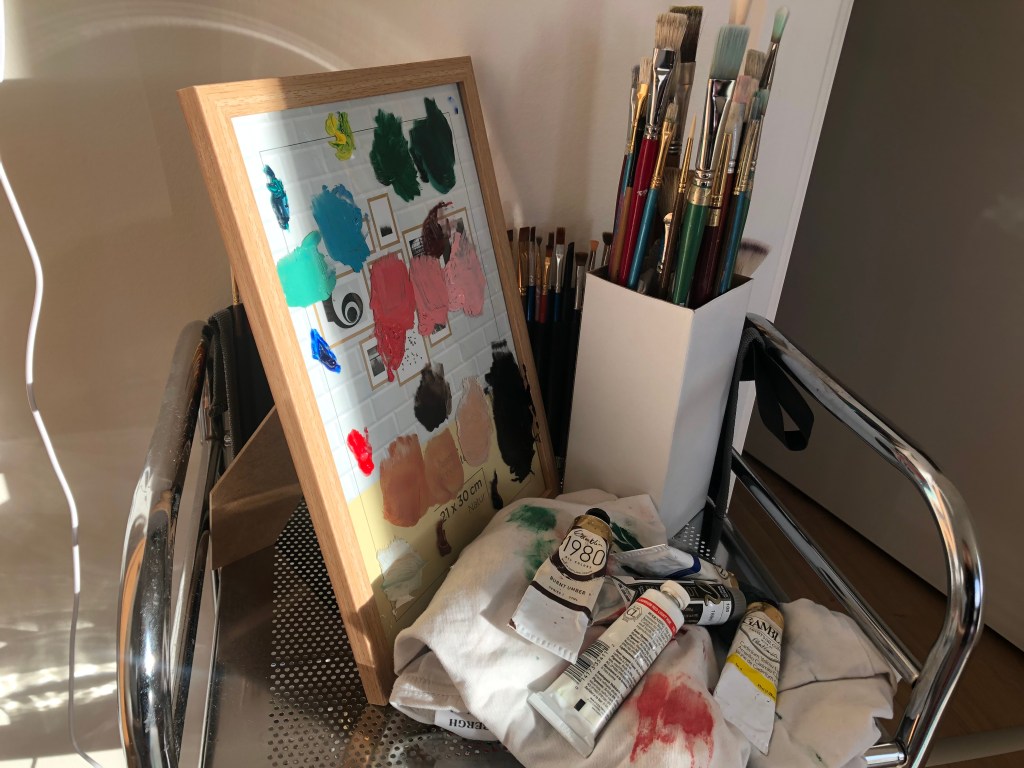
My favorite thing to mix oil paint on is glass! Clean up is so easy, just take off the dried paint with a glass scraper. I found that plastic pallets never last very long and stain quite easily. Plus, when using a picture frame you can change out the background color to see your mixed paints in a context. Painting something with a black background? Then place a black paper in the photo frame behind where you are mixing paints, that way you can always see your paints in regards to the background that your final painting will have.
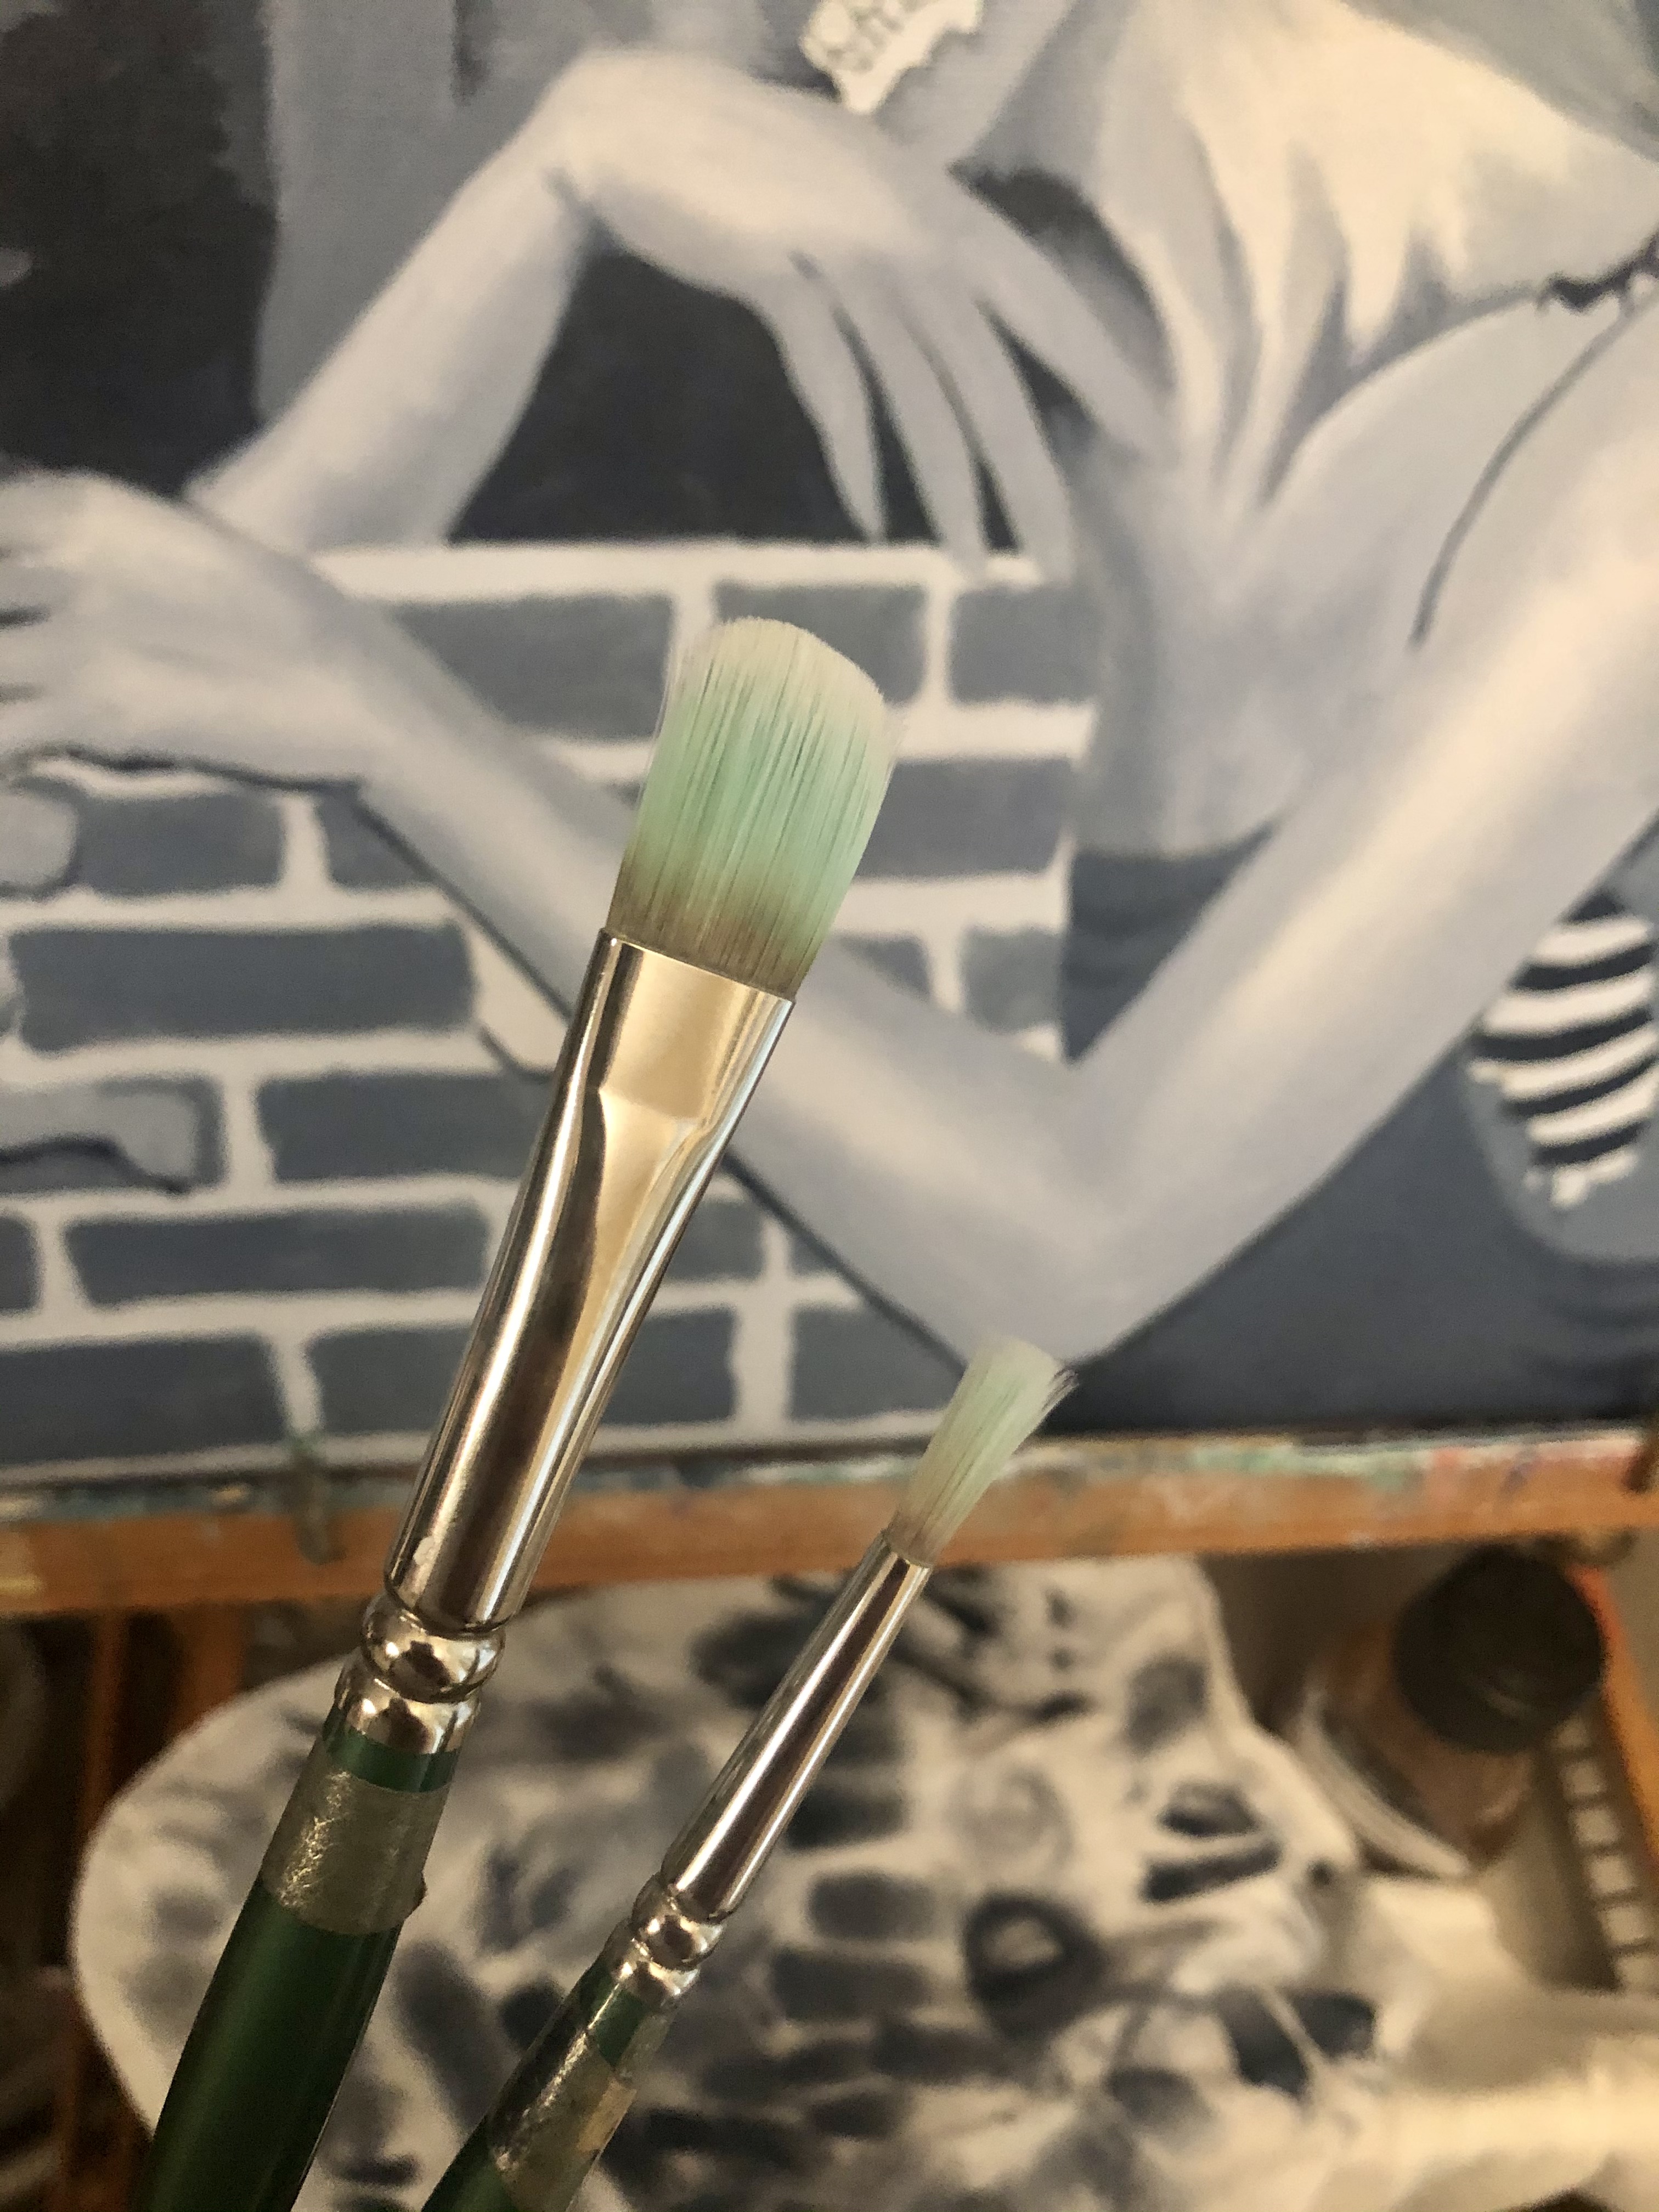
Although you can see I have nearly one hundred paint brushes, I only really use about three per painting. One large sized brush, which delivers the most coverage for backgrounds and base coats. One medium sized brush, which I use the most to refine and bring out main aspects of whatever I am painting. And one small sized brush, to put in the small details and the very satisfying white highlights.

As for the style or cut of a paint brush – round, square, or angled bristles – this should reflect the subject you are painting. Buildings which have sharp corners and lines = flat or angled. Organic objects with smooth rounded boarders and details = filbert or round. It is nice to have multiple options, but it is not necessary to purchase every style in every size. When first starting out, I would check out a brush kit with various styles ranging from large to small.
Another cheap option if you already have ones to spare – make up brushes! I have a couple makeup brushes in my set, just make sure they are cleaned extremely well before adding them to your paint brush collection.
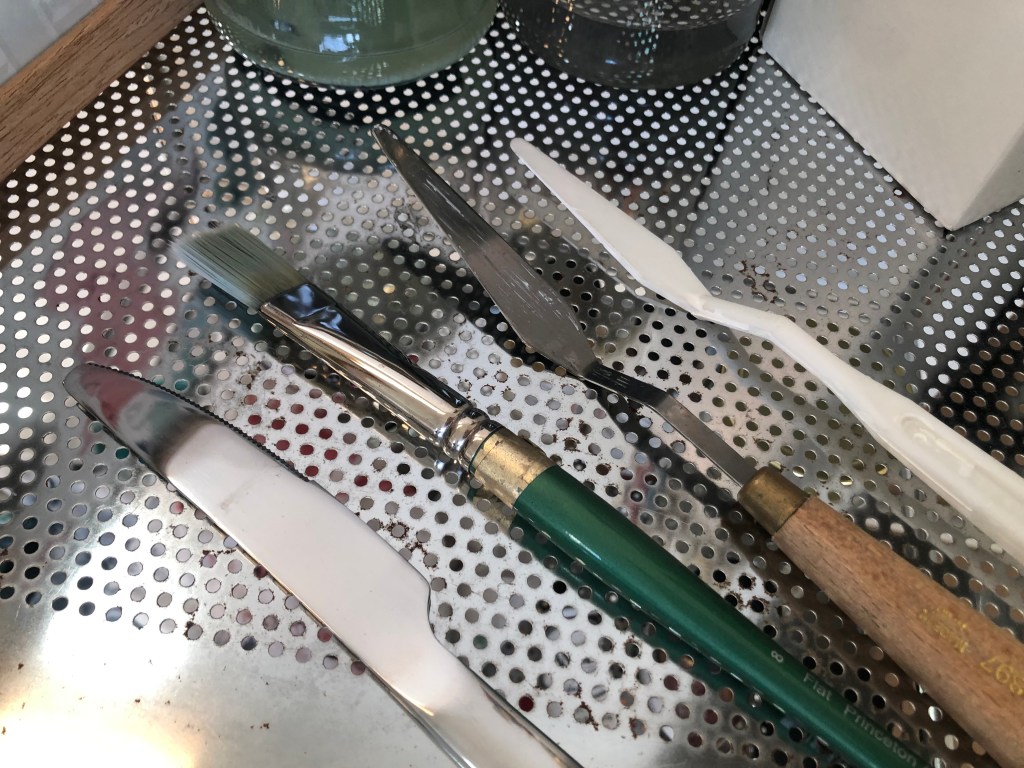
Artist Tip: NEVER mix paint with your paint brushes, ever.
In order to keep brushes working their full lifespan, it is imperative to not soak the base of bristles with paint or water. This will weaken the glue between the brush hairs and brush handle, causing fallout and reducing the amount of paint picked up by the brush. Instead, mix paint with a palette knife or a spare butter knife. You might feel fancier with a professional palette knife, but it’s really not necessary.
Clean up Basics
It is important to have all the tools for clean up before you start painting! Or live close to an art store…
An absolute necessity when oil painting is odorless mineral spirit, this is a paint thinner which is used for the base layer on canvas, mixing with mediums, and cleaning brushes. There is not a dupe that I know of, but it can be possible to pick this item at a home improvement store where you might find it cheaper per oz / ml. A little goes a long way and can be used over and over again across multiple projects.
Confused about the layer process in oil painting? I have a post coming soon!
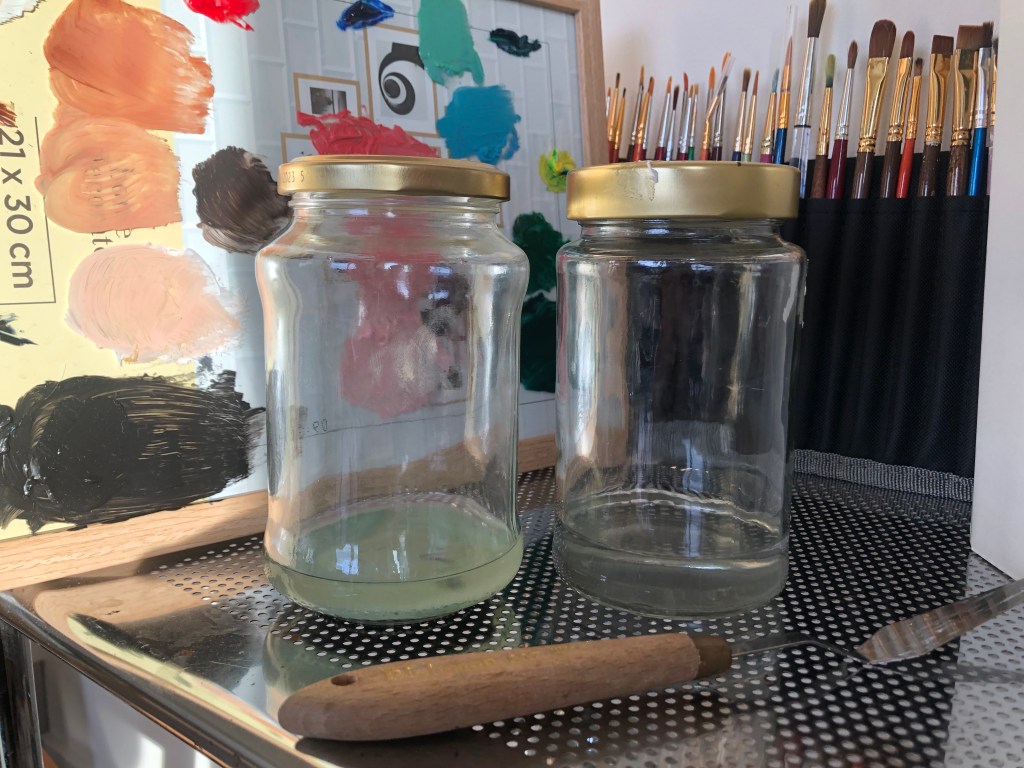
Instead of buying an “artist brush cleaning jar”, which is just a jar with coils at the bottom to separate the spirit from paint particles – I prefer a cheaper alternative of two pasta sauce jars. Any glass jar will do, just make sure it has a proper seal and can fully close when not in use. One is for dirty brushes = brushes that have excess paint wiped off by a rag (or old t-shirt like me). One is for now clean brushes to remove the smallest particles of paint from the bristles.
After these two rounds of mineral spirit, brushes still need to be washed with soap and water until the suds are clear of pigment. I have not found a soap advertised specifically to artists that I like, so I would recommend basic white ivory soap. Any soap will do, so in a pinch I have used dish soap as well. Just make sure there are no ‘moisturizing properties’ in the soap, or this will coat and build up on bristles.
Overall for clean up you will need:
- Odorless mineral spirit
- Two glass jars
- Rag or old t-shirt
- Soap – dish soap or ivory soap
Final Calculations of Cost: Two Options
Option 1: cheapest possible, assuming you can repurpose already owned items (How thrifty of you!)
| Solution | Cost | |
| A Space to be Creative | Daylight, lamp already owned | Free |
| Something to Paint | Clothing or item already owned | Free |
| Oil Paint | Two tubes: white and another color | ~$20 |
| Oil Medium | Refined linseed oil | ~$7 |
| Mixing Tools and Brushes | Repurposed butter knife, make up brushes | Free |
| Clean up | Odorless mineral spirit, repurposed pasta jars, repurposed old t-shirt | ~$10 |
| Total | Buy 4 items | About $37 + tax |
Option 2: assuming you need to purchase everything (or pick and choose what you actually need, I also split art purchases over multiple pay checks)
| Solution | Cost | |
| A Space to be Creative | Clip lamp | ~$12 |
| Something to Paint | Canvas, Gesso | ~$16 |
| Oil Paint | 5 tubes: dark, light, and primaries | ~$50 |
| Oil Medium | Refined linseed oil | ~$7 |
| Mixing Tools and Brushes | Paint brushes pack | ~$8 |
| Clean up | Odorless mineral spirit, glass jars, old rag | ~$10 |
| Total | Buy 11 items | About $103 + tax |
I made these item choices based on artist quality, if you are comfortable starting out with craft quality these prices can be cut in nearly half (or you’ll get more brushes, paints, etc. for your buck $). Also using coupons and being thrifty can always cut down costs!
I hope that this can help make joining the world of oil paint less scary. And if you have your own tips to cut costs when starting out, please feel free to share in the comments!
-Madeline

Leave a reply to A Step-by-Step Guide to Oil Painting a Memento Mori Inspired Piece Cancel reply