
Today we are covering: oil paint cleaning basics.
Although cleaning is the last step of a painting session, it is just as important. With the right cleaning techniques and tools, you can make your paint brushes last longer and safely dispose of waste.
These are the basics of oil paint clean up:
Supply List Breakdown

(1) Odorless Mineral Spirit (OMS)
This is the paint thinner preferred by artists, and can be used also in the painting, mixed with mediums. However the main purpose of OMS is to strip paint and clean brushes from oil paint pigments.
*Warning: Although it is odorless, OMS still is a harsh chemical that should be used in a well ventilated area. I make sure that my apartment windows are open when working with OMS. The container should be closed unless actively using, and make sure there is a tight seal on the lid at all times.
There are multiple names for odorless mineral spirit, with specific brands having their own brand name. OMS aliases: White Spirit, Mineral Turpentine.
If you want to know what other products are needed for oil painting, check out my post on How to Start Oil Painting on a Budget.
(2) Rags or wipes
I am currently using an old t-shirt, but you can also purchase oil wipes.
Warning: Do not just throw out oil paint rags into the regular waste bins, oil paint and many of oil mediums are hazardous material and need to be taken care of properly. Check how your local community wants this hazard to be disposed of – many have collection sites where you can drop of oil paint waste easily.
(3) Glass jars with tight lids
I use two jars with a little bit of OMS for a ‘dirty’ jar, and a ‘clean’ jar. I also have another jar where I collect oil paint scrapings just as a mini trash can.
Optional: A metal mesh or coil can be added to the base of the OMS jars. This separates the removed paint pigment from the rest of the spirit so that when cleaning other brushes those do not become dirty from the previous pigment collecting at the bottom of the jar.
(4) Soap
I usually prefer a basic ivory soap bar, but there are also painters specific soaps and liquid soaps are good too. Mainly you need a soap that does not have heavy perfume nor heavy moisturizing properties – as these would coat the bristles of paint brushes, reducing their ability to pick up paint.
(5) Razor blade scraper
These scraper blades are usually used to clean off glass, which is a great pair when working with a glass pallet.
Steps to Clean a Paint Brush

(1) After you have finished using your paint brushes, wipe as much of the paint off the brush as possible with the wipes or rag. It is important to get off as much pigment as possible, so that we don’t use up all our OMS and it takes less time to clean.
(2) Place the wiped brush into the ‘dirty’ jar (the dirty jar is just the first jar you use when cleaning, it will take off the most pigment and become the dirtiest fastest). Swish the brush around in the paint thinner, a cloud of pigment should begin to appear as it is cleansed from the bristles. Wipe the brush on the edges of the jar in an effort to leave as much of the pigment in the jar and off your brush.
(3) Next, into the ‘clean’ jar of OMS. There should be a much smaller cloud of paint being removed from the brush. Again, wipe the brush on the edges of the jar.
Note: if during these previous steps there is still pigment and paint coming off the bristles, repeat as needed until there are no more clouds of paint being removed.
(4) Wipe the OMS from the brush with a clean section of rag or wipe.
(5) In the sink, create suds by mixing the paint brush in the soap with a little bit of water. Usually the first suds are still full of pigment (shown by their color, or dingy appearance), so rinse and repeat until the suds are clear or white.
Usually I use soap two to three times, unless I have used a pigment that is particularly hard to clean. Phthalo green takes nearly five to six rinses to get rid of green suds, and your brush bristles will still be stained green forever more.
(6) Now that the paint brush is clean but wet, we need to fix that! Do not leave brushes to air dry, or worse sit in water. Bristles are glued on to the wooden handle, so to prevent bristle loss or hairy paintings brushes need to be wiped dry. Always wipe or squeeze out water in the same direction and shape of how that particular brush is made.
Warning: Be gentle when handling the brush during cleaning, you can create bristle loss by too harsh wiping. Going harder is not going to make clean up easier or faster, it will just hurt your brushes in the long run.
(7) Finally, reshape the brush if needed with your clean fingers or drying towel. Reform the bristles like how they looked when the brush was new. This will keep brushes looking their best for longer!
Optional step: Use a paint brush preserver or restorer. I would not recommend to do this every single time a brush is cleaned, but only if a brush is looking rough and struggling to reform back into its original shape. Overuse of these kinds of products can result in a build up of product on the bristles – making it harder for the brush to pick up paint.
Steps to Clean a Paint Palette
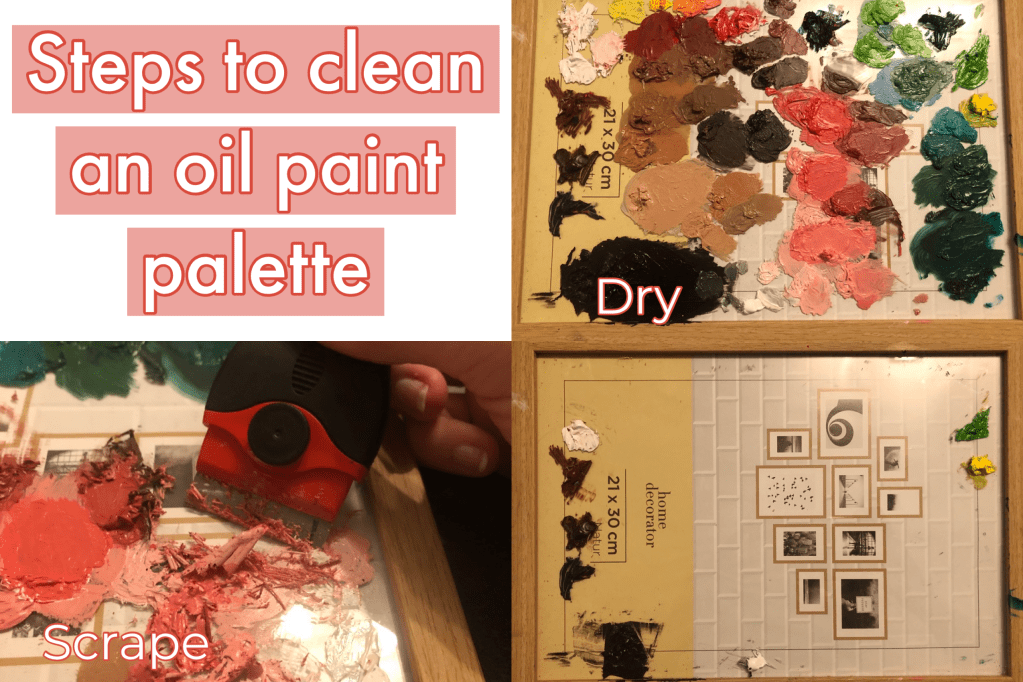
(1) After you have finished a painting, there will be a wet palette that needs to be taken care of. If you cannot use the remaining paint for another project, I personally wait for it to dry so that clean up can be easier. Waiting for a pallet to dry can take multiple days, so I like to have two glass pallets on hand.
(2) Once the mixing area is dry, take a glass scraper blade and use it to simply scrape off the dried paints. It is very satisfying!
(3) I horde my paint scraping in a jar until I have a good amount to be dropped off at a hazardous waste site. As long as the glass jar for trash has a tight seal, it will prevent toxic vapors from damp oil paint hanging around.

There you have it! The simple steps it takes to clean up after oil painting. Double check with your local community rules and regulations on hazardous materials, many offer a dump site or even a community pick up day. It can be helpful also to double check the warning labels on your oil painting supplies, to know which wastes need extra attention.
*Always paint in a well ventilated area, but especially when you are cleaning and using odorless mineral spirit!
Are there any other oil paint cleaning tips everyone should know? Feel free to share in the comments.
-Madeline

Leave a comment